Thursday, May 10, 2012

Cute Wall Art

I got bit by the project bug again this morning and decided to start something I had planned to do back in January.  I got the idea from Pinterest and couldn't wait to do it for our home, but I was in the midst of wedding planning so a few things had to go on the back burner.  Now that I'm done with all the craziness, I can finally relax and do some fun home updating!

One of my favorite things to do is make wall art or frame my photographs to put on the walls.  Nothing makes a house feel more like a home than personal photographs and I always hang my best ones.  I love when people come over and ask where a photo was taken, or who made that particular piece of art.  So...I decided to make another conversation starter.

For this project you'll need:
  1. A cricut to cut out shapes.  Or have a fabulous ability to cut out perfect hearts every single time.
  2. A tape measure.  I found that easier to use because the frame was so long.
  3. Cardboard (colored or not, your choice), card stock (any color you want), and a cutting board.
  4. A printer and glossy printer paper.  Oh yea, and plenty of ink!  :-)
  5. A cute picture frame.
  6. Scissors and regular tape (two sided is best).
  7. And last but not least; good, legible handwriting!  A printer may come in handy here too.  
Step 1:  I used my cricut (Tie the Knot Cartridge) to cut out a heart.  You may have to resize it (the heart) a few different times until you get exactly what size you need.  I probably could've gone a little smaller but this size (6, I believe) worked just fine!

Step 2:  I gathered the supplies I needed:  A white poster board from Michaels, cardboard, and my tools, which included my tape measure).

Step 3:  I got the frame I wanted to use and measured it horizontally (26 inches) and vertically (10 inches).  
The frame is from Target!

Step 4:  I measured out the center of the page, as well as where the hearts should go.  Then I used my orange heart from Step 1 and traced it on the paper!
I used such a bright color because it was easy to trace!

Step 5:  I cut out the three hearts to get ready for the maps!  (I feel like this one is self explanatory for humor me please!)  
Please forgive the non-rotated photo.  I have no idea how to fix this and I've tried multiple times!

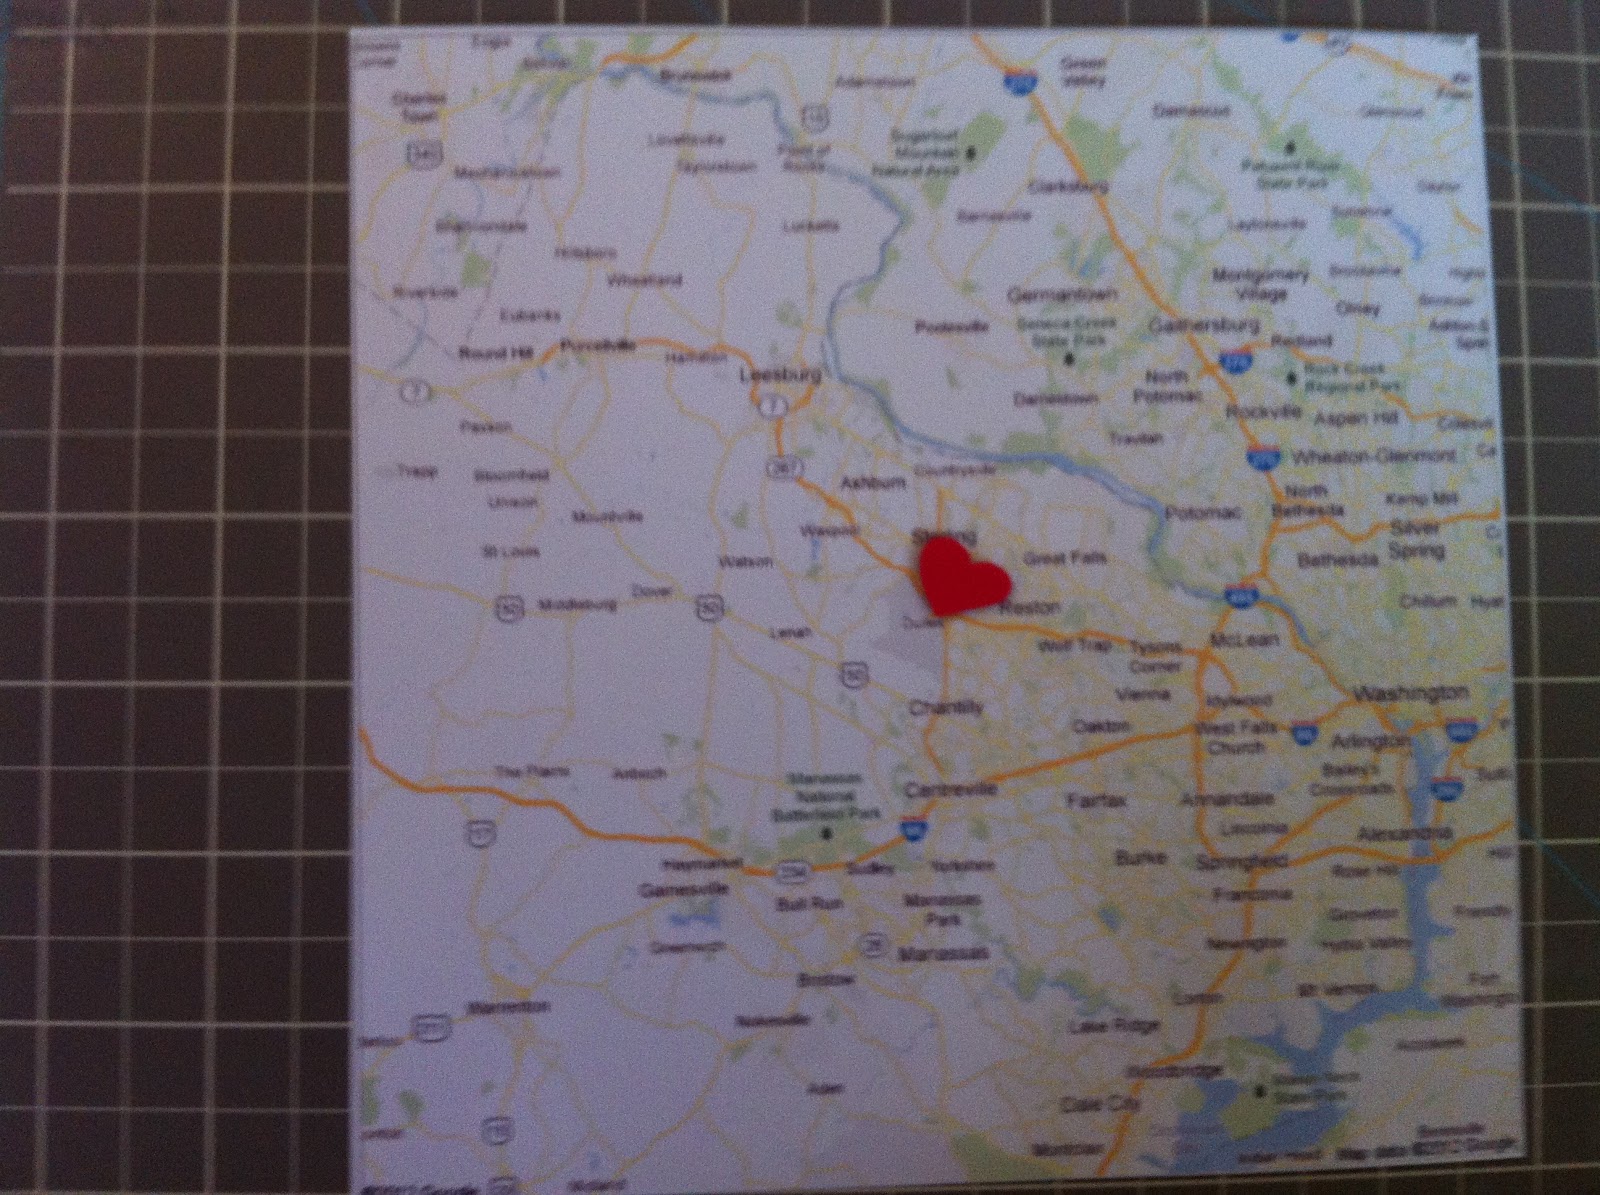
Step 6:  I printed maps off the internet (google maps) onto glossy photo paper and cut off the excess paper.  Then I used my cricut to cut out smaller red hearts.

Step 7:  I put the little red hearts on the exact spot (where we met, got married, and where we live) to draw attention to it.

Step 8:  I cut out small rectangles in blue and white and wrote the description to put under each heart shaped map!  Then, I taped the maps to the back of the cardboard paper, put everything in the frame, and flipped it over.  Hello finished product!
Once again, please forgive the photo!  

This turned out really well and I absolutely love it!  Now, I just need to find a place to hang it.....

Wednesday, May 9, 2012

Family Binder Update

Two posts in one day?  This is absolutely unheard of!  Especially from me.  But, I promised I'd come back and post a few pictures of my ever evolving family binder.  So, here I am!

I actually enjoyed this project.  And my most favorite part of all was putting all 124 DVD titles into my Microsoft Access spreadsheet (and those were only the DVD's we have out at the moment.  We have a lot more packed away).  Doing this made me notice that my collection of "girlie movies" (as Chris and many other men call them) are slowly being consumed by the more "manly" action/adventure movies.  I think I may need to up my monthly movie budget by a little bit and start collecting some of my favorites!  Don't get me wrong, I am definitely an action movie kind of gal, but I love my romance movies.  Especially on a cold rainy day!

Wow, that was a little off topic.  :-)

I guess you could say I'm a list maker.  Yep, I love my lists.  Whenever we go on a trip I make a list a few days in advance of all the things we're going to need and then double and triple check I've crossed everything off before we finally walk out of the door.  That's why, I  was very happy (ridiculously so) when my oldest sister gave me a travel checklist for Christmas.

If you don't have one...I suggest getting it.  It's awesome!
Lucky for me, this little dodad saved me some time today since I didn't have to make my own custom pack list for my binder!  However, I could easily customize one so that I know exactly what I need to take with me on trips!  Instead, I sat in front of my computer and typed up a few different lists.

I am super proud of my DVD list.  Notice that they're categorized by Blu-Ray, Standard, and Standard/Blu-Ray TV Shows.  Hmm...that probably sounds a bit geeky...

To the left is the list of the doctor's we go to,  hours of operation, phone numbers, etc.  On the right is a list of our allergies.  There's plenty of space so it can be updated along the way if I need to!

This little paper is going to come in handy so we can remember the special events in our families lives!  I'm hoping to never forget another anniversary or birthday with these babies!

I already had an address book that I made on Microsoft Access (it was a school project that has definitely come in handy!) so that was able to be crossed off my list (yay!).  I highly suggest using Microsoft Word or Access to do most of this stuff.  I still need to do an automobile maintenance checklist but I figure I'm in no rush.  I also didn't decorate my papers because (1) I didn't want to waste ink and (2) I don't really see the need!  I'll get a cute decorative binder from Target to make it look more snazzy!

Family Binder

A little over a year ago I read a post by a favorite blogger Jen over at iheartorganizing about the idea of a family binder.  She had come up with a simple and convenient way to keep all of her families important documents and information in one place, and I loved that idea.  I'm pretty positive that Chris could care less where everything is in the house because he is one of those people who likes an organized mess (is there really such a thing?!), so I took it upon myself to work on this project!

I had already started a binder about the time I read the original post but I never finished it.  I'm the type of gal that likes to start something and then come back to it months later with a disappointed look on her face because it wasn't done right the first time.  *sigh*  I guess I need to up my motivational drive somehow....suggestions?  :-)  Anywho, my friend Amy recently posted on her blog about the binder she made for her growing family which, coincidentally, gave me the drive to get off my butt and work on my own binder!  There's nothing like the push from a friend!  (Thanks Amy!)

I went back to Jen's original post to see what all she had put in her binder as well as what Amy did in hers to see where I needed to start over!  I found this helpful post that had lists of categories that anyone could use!  Here is what my list looked like:
  1. Movie Inventory
  2. Cleaning Checklist
  3. Important Contact Numbers
  4. Travel Checklist
  5. Idea/To-Do List
  6. Home Inspiration/Paint and Fabric Swatches etc.
  7. Credit Card and ID Information
  8. Calendar
  9. Medical Information
  10. Insurance Information (Medical, Car, etc)
  11. Auto Maintenance Log
  12. Allergies
  13. List of Family Birthdays and Phone Numbers
Everything in purple is what I want (at this moment) in my binder and the blue is what I will add later on.  I can already see Chris rolling his eyes at the movie inventory portion, but I've always been uber picky (not the word he'd use though!) about my DVD's and the way they are organized.  I may have a few OCD tendencies....  

Anyways.  The next step is to further compress the list into better (more productive) categories.  Here is what I'm thinking at the moment:
  1. Personal Information 
    1. Our marriage license
    2. Birth Certificates
    3. Passports
    4. Contact Information (work numbers, address, etc)
  2. Medical  
    1. List of Allergies
    2. Doctor Information 
  3. Address Book
    1. Including Family Birthdays!
  4. Auto Maintenance Log
  5. Insurance Information
As always, this could change.   I mean, I am a woman and therefore am able to change my mind....right? 

One more thing I should point out is that this binder will be able to grow with you and your family.  Good thing too since we're always growing and changing!  You can add and take out whatever you need, whenever you want.  I also suggest using page protectors so you don't have to constantly use the printer for new pages (ahh...the saver in me is so happy with this idea!) and nice colored dry-erase markers to write with!  As always, happy crafting!  :-)