
One of my favorite things to do is make wall art or frame my photographs to put on the walls. Nothing makes a house feel more like a home than personal photographs and I always hang my best ones. I love when people come over and ask where a photo was taken, or who made that particular piece of art. So...I decided to make another conversation starter.
For this project you'll need:
- A cricut to cut out shapes. Or have a fabulous ability to cut out perfect hearts every single time.
- A tape measure. I found that easier to use because the frame was so long.
- Cardboard (colored or not, your choice), card stock (any color you want), and a cutting board.
- A printer and glossy printer paper. Oh yea, and plenty of ink! :-)
- A cute picture frame.
- Scissors and regular tape (two sided is best).
- And last but not least; good, legible handwriting! A printer may come in handy here too.

Step 2: I gathered the supplies I needed: A white poster board from Michaels, cardboard, and my tools, which included my tape measure).

Step 3: I got the frame I wanted to use and measured it horizontally (26 inches) and vertically (10 inches).
 |
| The frame is from Target! |
Step 4: I measured out the center of the page, as well as where the hearts should go. Then I used my orange heart from Step 1 and traced it on the paper!
 |
| I used such a bright color because it was easy to trace! |
Step 5: I cut out the three hearts to get ready for the maps! (I feel like this one is self explanatory for humor me please!)
 |
| Please forgive the non-rotated photo. I have no idea how to fix this and I've tried multiple times! |
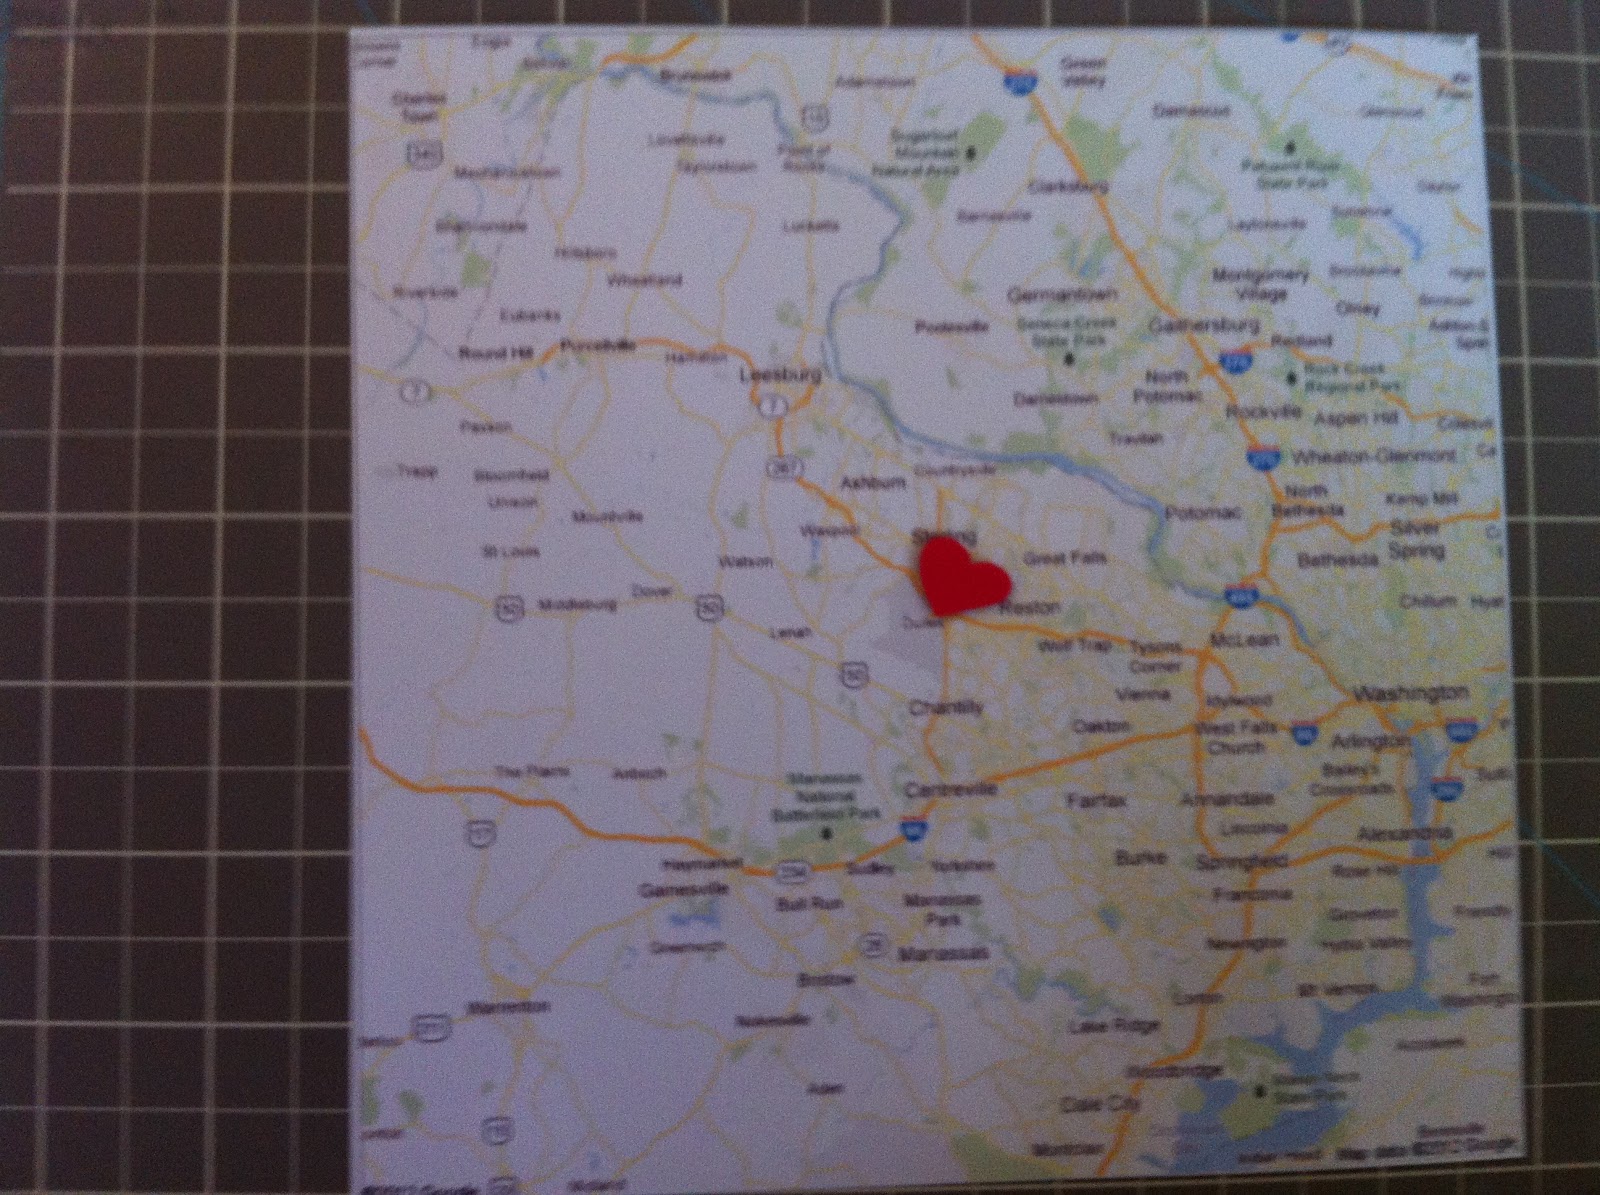
Step 6: I printed maps off the internet (google maps) onto glossy photo paper and cut off the excess paper. Then I used my cricut to cut out smaller red hearts.

Step 7: I
put the little red hearts on the exact spot (where we met, got married, and where we live) to draw attention to it.
Step 8: I cut out small rectangles in blue and white
and wrote the description to put under each heart shaped map! Then, I
taped the maps to the back of the cardboard paper, put everything in the frame,
and flipped it over. Hello finished product!
 |
| Once again, please forgive the photo! |
This turned out really well and I absolutely love it! Now, I just need to find a place to hang it.....
No comments:
Post a Comment